The Secret 5-Ingredient Chicken Brine Recipe for Restaurant-Quality Results
Have you ever wondered why restaurant chicken is always juicier, more flavorful, and more tender than what you make at home? The answer isn’t a fancy technique or expensive equipment — it’s brining. This chicken brine recipe uses just five simple ingredients to completely transform your chicken into something extraordinary. Whether you’re roasting, grilling, or frying, brining is the game-changing step most home cooks skip.
The science is straightforward: soaking chicken in a saltwater solution allows the meat to absorb moisture and flavor deep into its fibers. The result? Chicken that stays juicy even when cooked at high heat. This simple chicken brine recipe is proof that you don’t need a culinary degree to cook like a professional chef.
Ready to unlock the secret? Let’s dive in.
Ingredients List
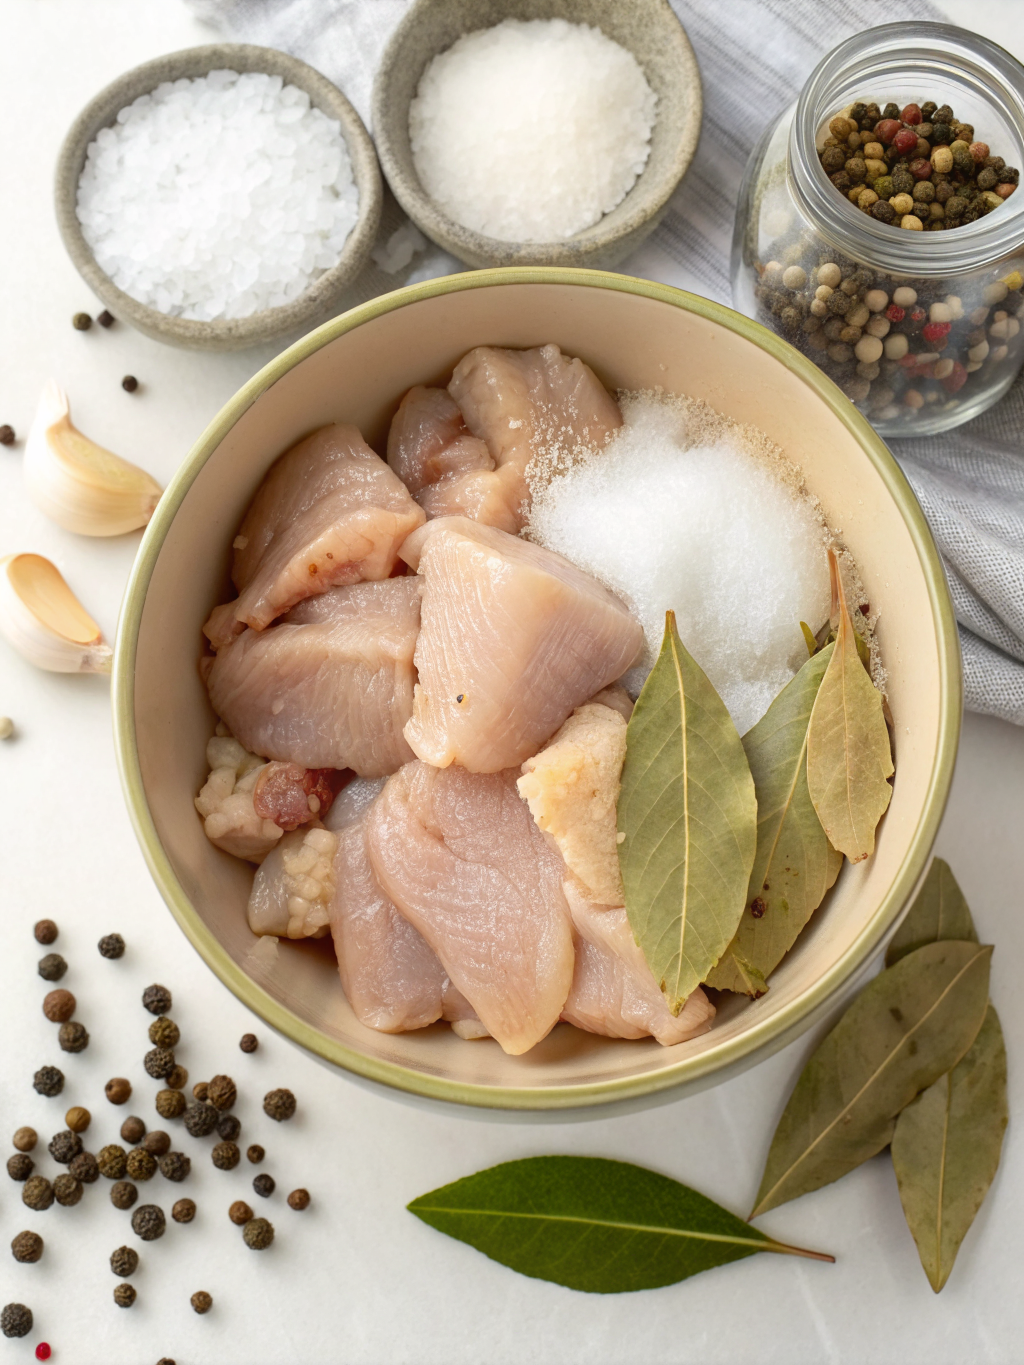
One of the best things about this recipe is its beautiful simplicity. You only need five pantry staples to create a brine that rivals anything you’d find in a top-tier restaurant kitchen.
- 4 cups cold water — The base of your brine. Always use cold water to keep the chicken at a safe temperature during the soaking process.
- 3 tablespoons kosher salt — Kosher salt is preferred because its coarser texture dissolves evenly and penetrates the meat more effectively than table salt. If using table salt, reduce to 2 tablespoons.
- 2 tablespoons granulated sugar — Sugar balances the saltiness and promotes beautiful golden-brown caramelization when the chicken is cooked. Brown sugar works as a flavorful substitute.
- 3 cloves garlic, smashed — Garlic infuses the brine with a savory, aromatic depth. Garlic powder (1 teaspoon) can be used in a pinch.
- 1 tablespoon black peppercorns — Whole peppercorns release a slow, subtle heat and earthy flavor into the brine. Cracked black pepper works as an alternative.
Optional add-ins for extra flavor: Fresh herbs like rosemary, thyme, or bay leaves; citrus peels (lemon or orange); or a splash of apple cider vinegar for a tangy twist. These additions are entirely optional but can elevate the brine to new flavor dimensions.
This recipe is naturally gluten-free and dairy-free, making it accessible for a wide range of dietary preferences.
Timing
One of the most common questions about brining is: how long does it take? Here’s a complete breakdown so you can plan your meal perfectly.
- Preparation Time: 5 minutes
- Brining Time: 1 to 12 hours (depending on the cut)
- Total Active Time: 5 minutes (plus hands-off brining time)
For boneless, skinless chicken breasts, brine for 1–2 hours. For bone-in pieces like thighs or drumsticks, aim for 4–6 hours. A whole chicken benefits from an overnight brine of 8–12 hours. Compared to many marinating methods that require up to 24 hours, this brine delivers deep, noticeable flavor in as little as 60 minutes — roughly 50% faster than traditional marinades for smaller cuts.
The hands-off nature of brining means you can prep it the night before and wake up to chicken that’s ready to cook. It’s effortless meal planning at its best.
Step-by-Step Instructions
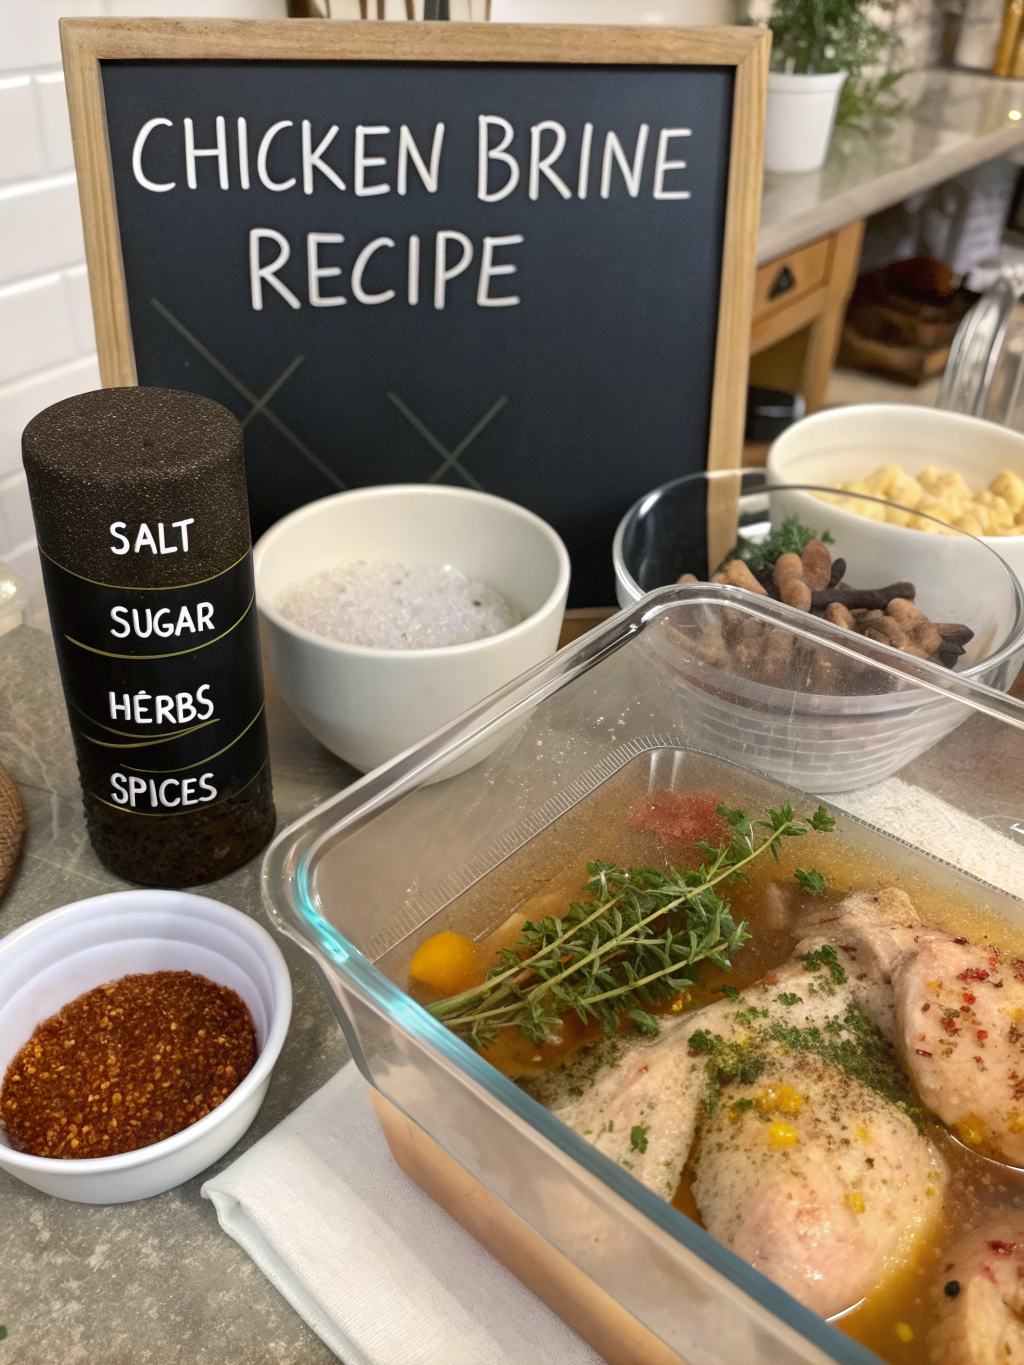
Follow these straightforward steps for perfect brined chicken every single time. Each step is designed to be simple, clear, and foolproof — even for beginner cooks.
Step 1: Prepare the Brine Solution
In a medium saucepan, combine 2 cups of the water with the kosher salt and granulated sugar. Heat over medium heat, stirring constantly, until the salt and sugar are fully dissolved. This takes about 2–3 minutes. Do not boil — you just need enough heat to dissolve the solids.
Once dissolved, remove the pan from heat and add the remaining 2 cups of cold water. This immediately cools the brine down. Adding the garlic cloves and black peppercorns at this stage allows their flavors to begin infusing right away.
Step 2: Cool the Brine Completely
This step is non-negotiable for food safety. Never add chicken to a warm or hot brine. Allow the brine to cool to room temperature, then transfer it to the refrigerator for 15–20 minutes until it is completely cold. Placing warm chicken in a warm brine creates a dangerous temperature zone for bacterial growth.
Step 3: Submerge the Chicken
Place your chicken pieces in a large zip-lock bag, a deep bowl, or a food-safe container. Pour the cooled brine over the chicken, ensuring every piece is fully submerged. If needed, place a small plate or zip-lock bag filled with water on top to keep the chicken weighted down beneath the surface of the brine.
Step 4: Refrigerate and Brine
Seal the bag or cover the container and place it in the refrigerator. Brine for the appropriate time based on your cut: 1–2 hours for breasts, 4–6 hours for bone-in pieces, and up to 12 hours for a whole bird. Avoid over-brining, as this can make the chicken overly salty and give it a slightly mushy texture.
Step 5: Rinse, Pat Dry, and Cook
Once the brining time is complete, remove the chicken from the brine and discard the liquid. Rinse the chicken thoroughly under cold running water to remove excess salt from the surface. Pat it completely dry with paper towels — this is crucial for achieving crispy skin when roasting or grilling. Now your chicken is ready to season and cook using your preferred method.
Nutritional Information
It’s important to note that because the brine is discarded after use, the chicken absorbs only a minimal amount of sodium and sugar. The nutritional values below are approximate estimates for a 4-ounce (113g) serving of brined, cooked boneless skinless chicken breast.
Calories: 165 kcal
Protein: 31g
Total Fat: 3.6g
Saturated Fat: 1g
Carbohydrates: 0g (negligible absorption from brine)
Sodium: Approximately 300–400mg (compared to ~75mg in unbrined chicken)
Cholesterol: 85mg
Chicken is an excellent source of lean protein, B vitamins (especially B3 and B6), phosphorus, and selenium. Brining does slightly increase the sodium content, which is worth noting for those monitoring their salt intake. However, the overall nutritional profile remains highly favorable for a balanced diet.
Healthier Alternatives for the Recipe
Want to make this chicken brine recipe work for specific dietary goals? Here are some smart, flavor-preserving modifications.
- Reduce sodium: Cut the kosher salt down to 2 tablespoons and extend the brining time slightly. You’ll still achieve great moisture retention with less salt absorption.
- Sugar-free option: Replace granulated sugar with a small drizzle of raw honey or simply omit it altogether. The chicken will still be flavorful, though the caramelization during cooking will be less pronounced.
- Low-FODMAP version: Omit the garlic and replace it with a tablespoon of fresh ginger or lemon zest for aromatic flavor without the FODMAPs.
- Apple cider vinegar brine: Add 2 tablespoons of apple cider vinegar to the brine for a slightly tangy profile and additional tenderizing properties. This works especially well for grilled chicken.
- Herb-forward brine: Add fresh rosemary, thyme, and a bay leaf to boost antioxidants and create a more complex, aromatic flavor without adding calories.
These swaps ensure that the recipe remains versatile and inclusive, whether you’re cooking for someone with dietary restrictions or simply trying to eat a little cleaner.
Serving Suggestions
Brined chicken is incredibly versatile and pairs beautifully with a wide range of sides and presentations. Here are some inspiring ways to serve it.
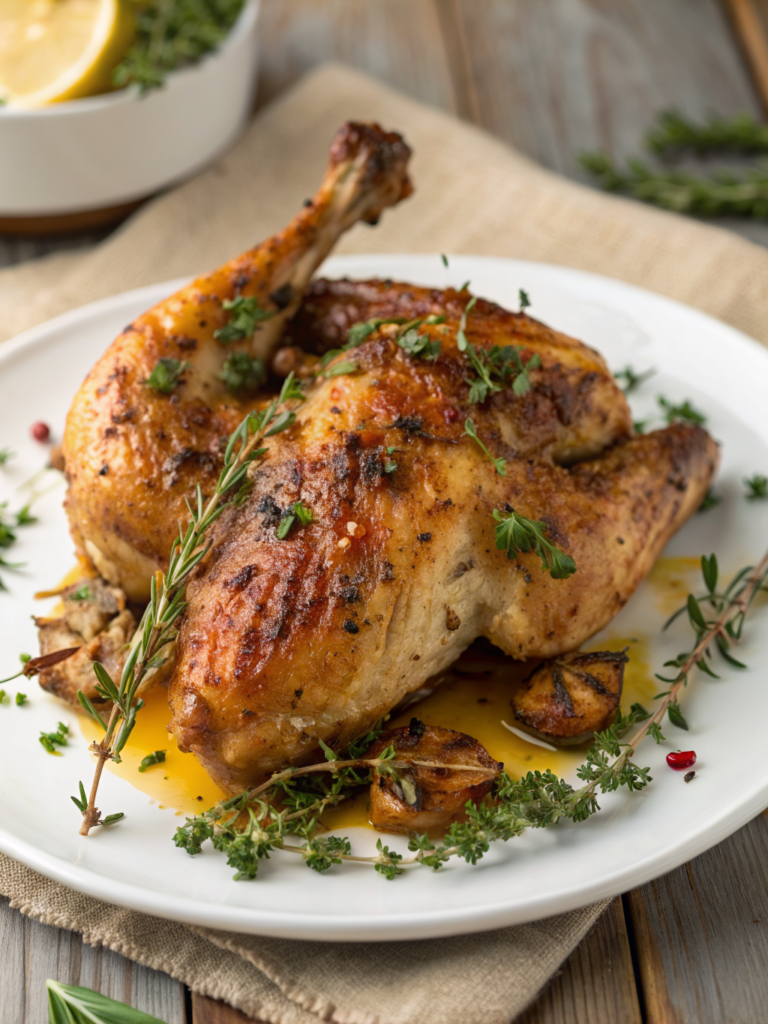
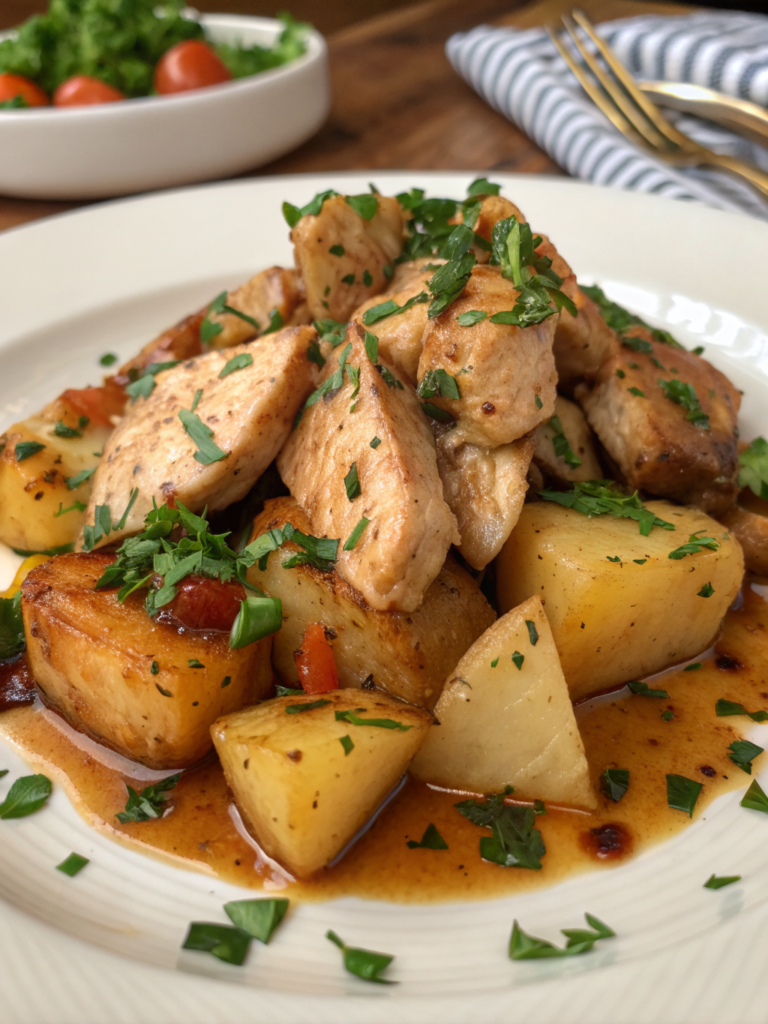
- Classic roast dinner: Serve a whole brined roasted chicken alongside roasted garlic mashed potatoes, steamed green beans, and a rich pan gravy for a timeless, crowd-pleasing meal.
- Summer BBQ: Brined chicken thighs and drumsticks are perfect for the grill. Brush with your favorite BBQ sauce in the last few minutes of cooking for a sticky, caramelized finish.
- Meal prep bowls: Slice brined chicken breasts over a bed of quinoa, roasted vegetables, and a tahini drizzle for a nutritious, protein-packed weekly meal prep option.
- Crispy fried chicken: Brined chicken is the secret weapon of the best fried chicken recipes. The extra moisture means the meat stays juicy even after frying in hot oil.
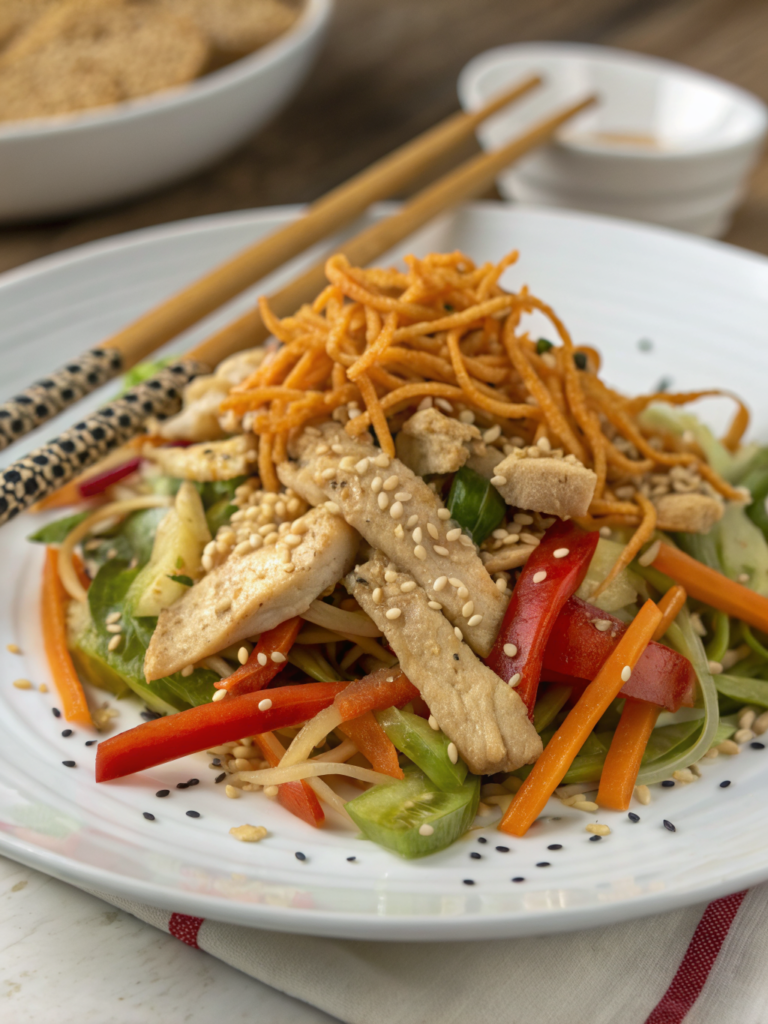
- Salads and wraps: Thinly sliced brined chicken is exceptional in Caesar salads, grain bowls, or stuffed into warm pita wraps with tzatziki and fresh vegetables.
No matter how you serve it, brined chicken elevates the entire dish. The difference in juiciness and flavor is immediately noticeable — your guests will definitely ask for your secret.
Common Mistakes to Avoid
Even with a straightforward recipe like this, there are a few common pitfalls that can compromise your results. Avoid these mistakes to ensure perfect brined chicken every time.
- Using warm brine: Always cool your brine completely before adding chicken. Warm brine can partially cook the surface of the meat and creates unsafe food temperatures.
- Over-brining: More time does not always mean more flavor. Over-brined chicken becomes excessively salty and can develop a spongy, unpleasant texture. Stick to the recommended time windows.
- Skipping the rinse: Always rinse the chicken after brining. Skipping this step leaves a heavy layer of salt on the surface, making the final dish unpleasantly salty.
- Not patting dry: Moisture on the surface of the chicken creates steam during cooking, which prevents browning and crispiness. Always pat thoroughly dry with paper towels before cooking.
- Using iodized table salt: Table salt is much finer than kosher salt and can make the brine overly salty if used in the same quantities. Always adjust measurements if substituting.
- Brining already-seasoned or pre-injected chicken: Many store-bought chickens are already injected with a sodium solution. Check the label before brining to avoid an overly salty result.
Storing Tips for the Recipe
Proper storage is key to getting the most out of your brined chicken, whether you’re prepping ahead or storing leftovers.
Storing the brine: The brine itself can be prepared up to 3 days in advance and stored in an airtight container in the refrigerator. This makes it easy to prep ahead for busy weeknights. Never reuse brine that has already had raw chicken in it.
Storing brined raw chicken: Once brined, raw chicken can be kept in the refrigerator (removed from the brine, rinsed, and patted dry) for up to 2 days before cooking. Store it uncovered on a rack in the fridge to allow the surface to dry out further — this enhances crispiness when cooked.
Storing cooked brined chicken: Cooked brined chicken stores exceptionally well due to its higher moisture content. Store leftovers in an airtight container in the refrigerator for up to 4 days. Reheat gently in the oven at 300°F (150°C) or in a covered skillet with a splash of chicken broth to maintain juiciness.
Freezing: You can freeze brined, cooked chicken for up to 3 months. Slice or shred it before freezing for easier portioning. Thaw overnight in the refrigerator before reheating.
Conclusion
This 5-ingredient chicken brine recipe is the simplest, most impactful upgrade you can make to your home cooking. With just water, salt, sugar, garlic, and peppercorns — and as little as one hour of hands-off time — you can achieve chicken that is consistently juicy, deeply flavorful, and beautifully tender every single time.
Brining works for every cooking method: roasting, grilling, frying, or baking. It’s a technique used by professional chefs around the world, and now it’s yours to use at home. The best part? It costs almost nothing extra and requires minimal effort.
Whether you’re cooking for a weeknight family dinner or impressing guests at a dinner party, this chicken brine recipe will become your go-to secret weapon in the kitchen. Once you try it, you’ll never cook chicken without brining again.
We’d love to hear from you!